How-To: DIY a Marble Table
One of Jenna’s favorite design hacks is to make a marble-top table to her specifications. Whether she’s starting from scratch or leveraging an existing vintage table, here’s how it’s done.

Determine the dimensions
Have you heard the saying “measure twice, cut once”? Figuring out the size of your table will make subsequent steps foolproof.

Look at those table legs
A few online resources that we lean on are Balasagun, Hairpin Legs, and Hairpin Leg Company, all of which have various styles — powder-coated, brass, chrome, and more.

Locate your local marble yard
Once you have, ask to see remnants. In New York, we head to SMC Stone in Brooklyn.

Find a sample you like
Make sure it isn’t thicker than ¾ inch. We love onyx, travertine and, of course, marble.

Pick your spot
With the right dimensions in hand, select where you’d like the table cut.

Choose a finish
The top can be polished or honed. Jenna prefers a honed finish.
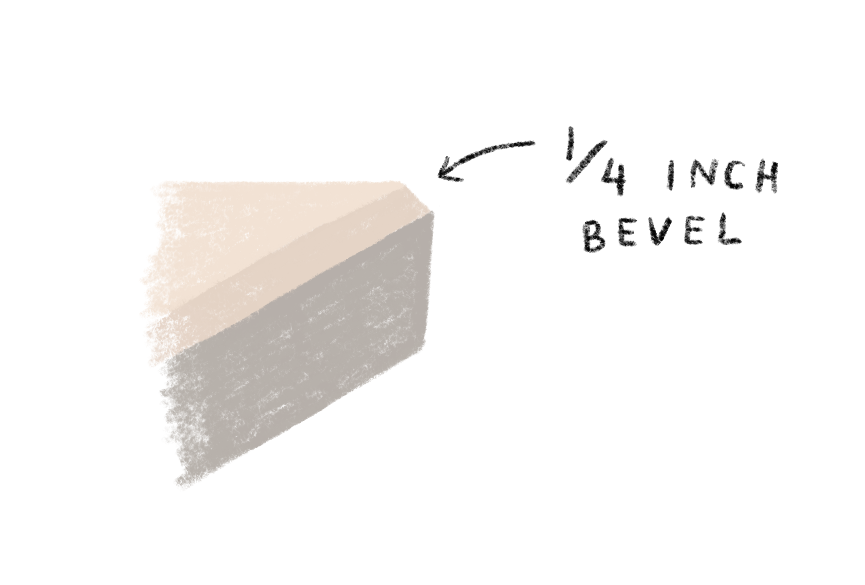
Smooth out the edges
Request a ¼-inch beveled edge around the perimeter.

It’s all about the base
Cut a piece of birch ply or apple ply 4 inches smaller than the desired table length and width (2 inches on each side).

Secure your legs
Use counter-sunk pilot holes and bolts with nuts and lock washers to attach the legs to the ply.

The final touch
Place the stone on top of the plywood — you don’t need to secure them to one another because the marble is so heavy — and you’ve got a one-of-a-kind table.
Illustrations by Or Gotham